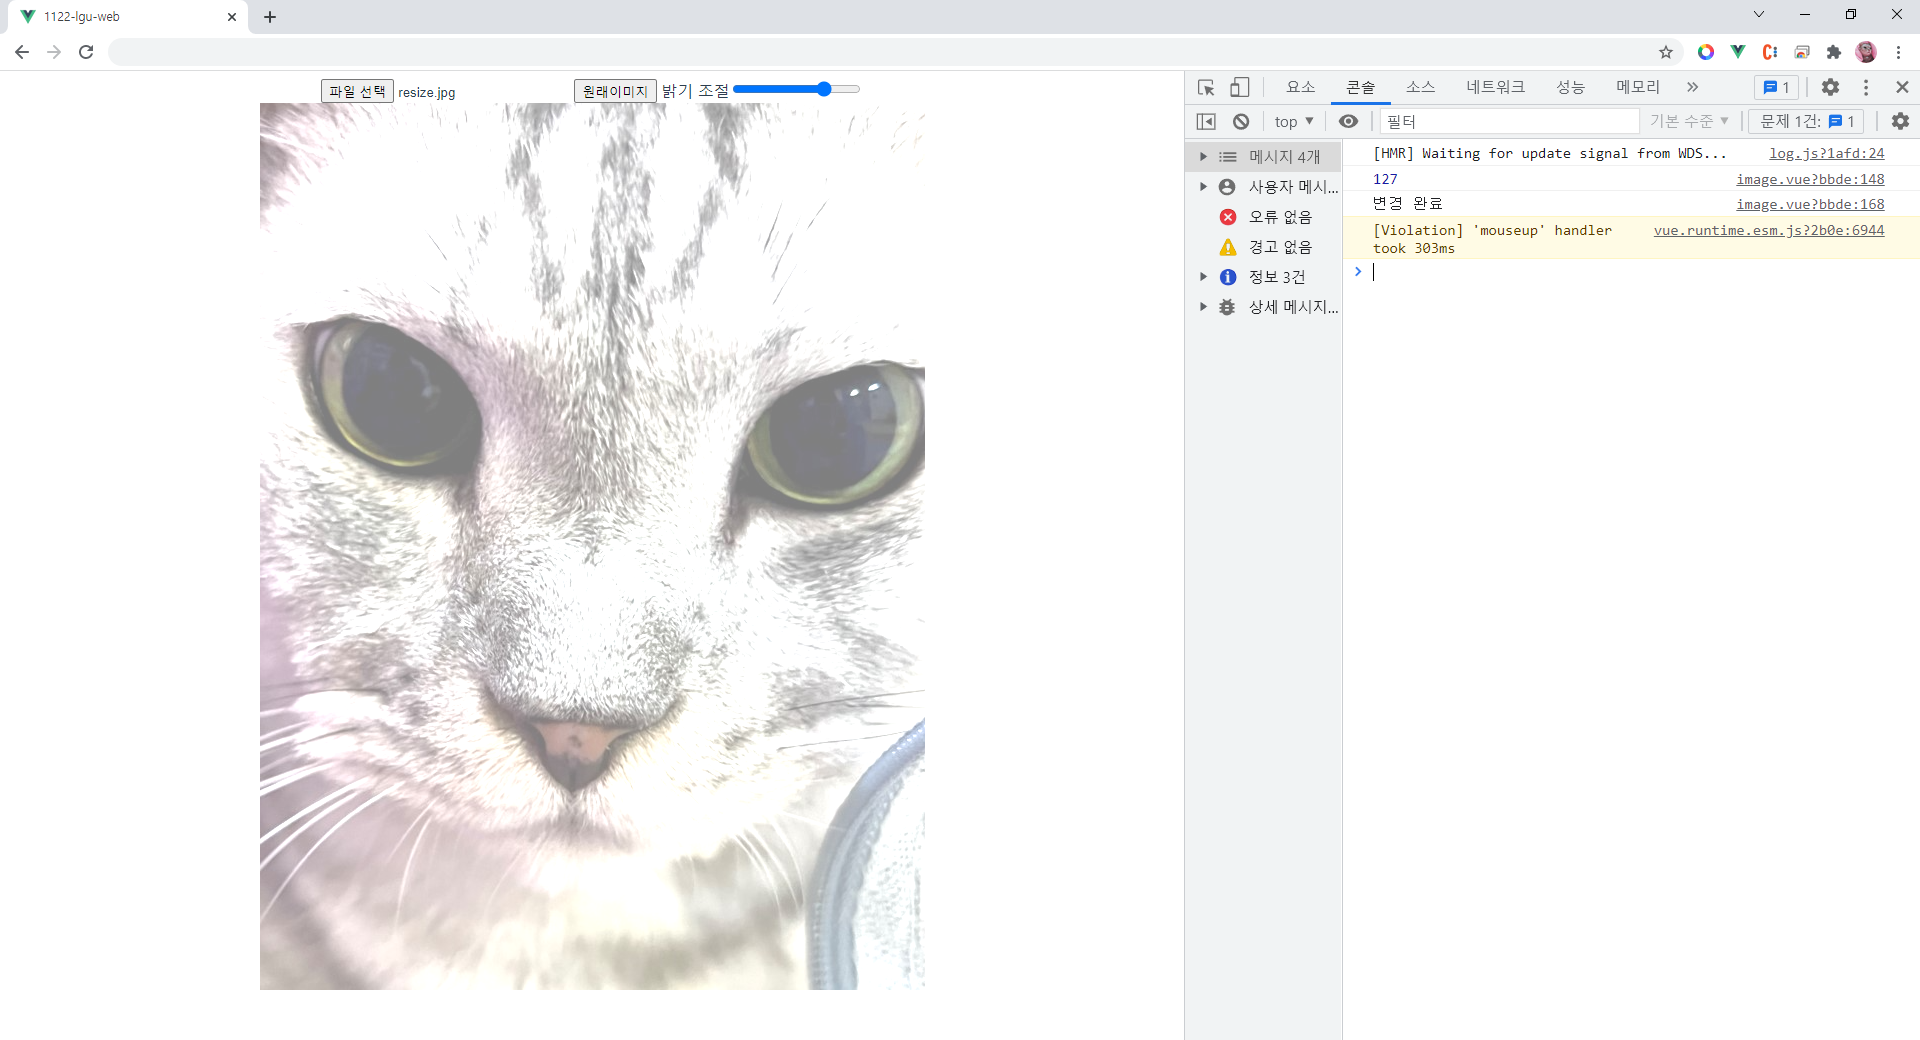
개인 프로젝트로 만들었던 걸 뷰로 바꿔보았다.
꾸미는건 나중 일로 미루고 기능 구현 목적으로 대충 해보았다.
기능은 밝기조절, 원래 이미지로 돌리는 것 두 가지!
template 작성
<template>
    <div>
        <input type="file" ref="image" id="selectFile" @change="openImage()" />
        <button @click="returnToFirstImg()">원래이미지</button>
        <label> 밝기 조절</label>
        <input type="range" max="255" min="-255" value="0" id="brightI" @mouseup="brightnessAdjustment()" />
        <div>
            <Canvas id="outCanvas"></Canvas>
        </div>
    </div>
</template>
script 작성
export default {
    data() {
        return {
            // 입력 캔버스 관련
            outCanvas: "",
            outCtx: "",
            inFile: "",
            // 캔버스에는 한점한점이 안찍힘. 대신 캔버스에 종이를 붙임.
            inPaper: "",
            outPaper: "",
            // 입력 파일 및 배열
            inImgArr: [],
            outImgArr: [],
            // 입력 이미지의 폭과 높이
            inWidth: "",
            inHeight: "",
            outWidth: "",
            outHeight: "",

            imgURL: "",
        };
    },
    methods: {
        //이미지 열기
        openImage: function () {
            //url 지우기(누수 막기)
            this.imgURL = URL.revokeObjectURL(this.imgURL);

            this.inFile = this.$refs["image"].files[0];
            //그림 파일을 이미지 객체로 불러오기
            let inImg = new Image(); //이미지 객체 생성
            //src로 넣을 url 만들기
            this.imgURL = URL.createObjectURL(this.inFile);
            //src에 url 넣기
            inImg.src = this.imgURL;

            const _this = this;
            inImg.onload = function () {
                _this.outCanvas = document.getElementById("outCanvas");
                _this.outCtx = _this.outCanvas.getContext("2d");

                //입력 파일의 크기 알아내기
                _this.inWidth = inImg.width;
                _this.inHeight = inImg.height;

                //캔버스 크기
                _this.outCanvas.width = _this.inWidth;
                _this.outCanvas.height = _this.inHeight;
                _this.outCtx.drawImage(inImg, 0, 0, _this.inWidth, _this.inHeight);

                //3차원 배열 만들기
                _this.inImgArr = new Array(3);
                for (let i = 0; i < 3; i++) {
                    _this.inImgArr[i] = new Array(_this.inHeight); // 2차원 배열 생성
                    for (let k = 0; k < _this.inHeight; k++) _this.inImgArr[i][k] = new Array(_this.inWidth);
                }

                let imgData = _this.outCtx.getImageData(0, 0, _this.inWidth, _this.inHeight);
                let pixelImg = imgData.data;
                let R, G, B;
                for (let h = 0; h < _this.inHeight; h++) {
                    for (let j = 0; j < _this.inWidth; j++) {
                        let px = (h * _this.inWidth + j) * 4; //1pixel = 4byte(r, g, b, alpha)
                        R = pixelImg[px + 0];
                        G = pixelImg[px + 1];
                        B = pixelImg[px + 2];

                        _this.inImgArr[0][h][j] = String.fromCharCode(R);
                        _this.inImgArr[1][h][j] = String.fromCharCode(G);
                        _this.inImgArr[2][h][j] = String.fromCharCode(B);
                    }
                }
            };
        },

        //3차원 배열 만들 때 쓰기 위한 함수
        threeDimensionArr: function () {
            //이미지 크기
            this.outHeight = this.inHeight;
            this.outWidth = this.inWidth;

            //배열 준비
            this.outImgArr = new Array(3); //1차원 배열 3개

            for (let i = 0; i < 3; i++) {
                this.outImgArr[i] = new Array(this.outHeight); //1차원 배열
                for (let k = 0; k < this.outHeight; k++) {
                    this.outImgArr[i][k] = new Array(this.outWidth);
                }
            }
        },
        //이미지 화면 출력
        displayImg: function () {
            //크기 지정
            this.outCanvas.height = this.inHeight;
            this.outCanvas.width = this.inWidth;

            let R, G, B;
            let outPaper = this.outCtx.createImageData(this.outWidth, this.outHeight);

            for (let i = 0; i < this.outHeight; i++) {
                for (let k = 0; k < this.outWidth; k++) {
                    //byte 문자를 숫자로 변경
                    R = this.outImgArr[0][i][k].charCodeAt(0);
                    G = this.outImgArr[1][i][k].charCodeAt(0);
                    B = this.outImgArr[2][i][k].charCodeAt(0);

                    outPaper.data[(i * this.outWidth + k) * 4 + 0] = R;
                    outPaper.data[(i * this.outWidth + k) * 4 + 1] = G;
                    outPaper.data[(i * this.outWidth + k) * 4 + 2] = B;
                    outPaper.data[(i * this.outWidth + k) * 4 + 3] = 255;
                }
            }
            this.outCtx.putImageData(outPaper, 0, 0);
        },
        //본래 이미지 보기
        returnToFirstImg: function () {
            if (this.inFile == null || this.inFile == "") {
                alert("이미지 파일을 선택해주세요.");
            } else {
                this.threeDimensionArr();
                for (let rgb = 0; rgb < 3; rgb++) {
                    for (let i = 0; i < this.inHeight; i++) {
                        for (let k = 0; k < this.inWidth; k++) {
                            this.outImgArr[rgb][i][k] = this.inImgArr[rgb][i][k];
                        }
                    }
                }
                this.displayImg();
                console.log("본래 이미지임");
            }
        },
        brightnessAdjustment: function () {
            let value = parseInt(document.getElementById("brightI").value);
            console.log(value);

            this.threeDimensionArr();
            for (let rgb = 0; rgb < 3; rgb++) {
                for (let i = 0; i < this.inHeight; i++) {
                    for (let k = 0; k < this.inWidth; k++) {
                        let pixel = this.inImgArr[rgb][i][k].charCodeAt(0); //문자에서 숫자로 변경
                        //예외처리
                        if (pixel + value > 255) {
                            pixel = 255;
                        } else if (pixel + value < 0) {
                            pixel = 0;
                        } else {
                            pixel += value;
                        }
                        this.outImgArr[rgb][i][k] = String.fromCharCode(pixel); //숫자에서 문자로 변경
                    }
                }
            }
            this.displayImg();
            console.log("변경 완료");
        },
    },
};
이 코드들 오랜만에 보니 반가웠다.
다신 안 볼 줄 알았는데ㅎㅎㅎㅎ
반응형
'공부합시다 > Vue' 카테고리의 다른 글
| [Vue.js 3] Vue I18n 설치 (0) | 2022.02.16 |
|---|---|
| [Vue.js] ws 모듈 사용하기 (0) | 2022.01.05 |
| [Vue.js] Uncaught TypeError: Failed to execute 'drawImage' on 'CanvasRenderingContext2D' (0) | 2021.11.24 |
| [Vue.js] 내용 수정 모달 만들기 (0) | 2021.11.23 |
| [Vue.js] 'cross-env'은(는) 내부 또는 외부 명령, 실행할 수 있는 프로그램, 또는 배치 파일이 아닙니다. (0) | 2021.10.27 |